A decadent treat that is so easy, it will be your new go-to dessert. This can also be
flavored using a number of different liqueurs, such as coffee or fruit-based.
0
My cart
Max order QTY per product = 5 units
Empty
-
 Appliances
-
 Cookware
-
 Cutlery
-
 Bakeware
-
 Tools & Gadgets
-
 Outdoor Grilling
-
 Parts & Accessories
-
 Support
Shop All
- Appliances
- Shop All Appliances
- Air Purifiers
- Air Fryers
- Blenders
- Bread Makers
- Can Openers
- Coffee Makers
- Deep Fryers
- Electric Knives
- Electric Skillets
- Espresso Makers
- Food Processors
- Grills
- Hand Blenders
- Hand Mixers
- Ice Cream & Yogurt Makers
- Juicers
- Microwaves
- Mini Fridges
- Popcorn Makers
- Pressure Cookers
- Slow Cookers & Rice Cookers
- Specialty Appliances
- Stand Mixers
- Tea Kettles
- Toasters
- Toaster Oven Broilers
- Waffle Makers
- Wine Fridges & Coolers
- Cookware
- Shop All Cookware
- Baking & Casserole Dishes
- Chafing Dishes
- Classic Stockpots & Sauce Pots
- Cookware Racks
- Covers
- Durable Skillets & Fry Pans
- Everyday Saucepans
- Multifunctional Griddles
- Roasting Pans with Rack
- Saute and Specialty Pans
- Stove Top Grill Pans
- Stylish Cookware Sets
- Cutlery
- Shop All Cutlery
- ColorCore Collection
- ColorPro Collection
- Cuisinart Advantage® Colored Knives
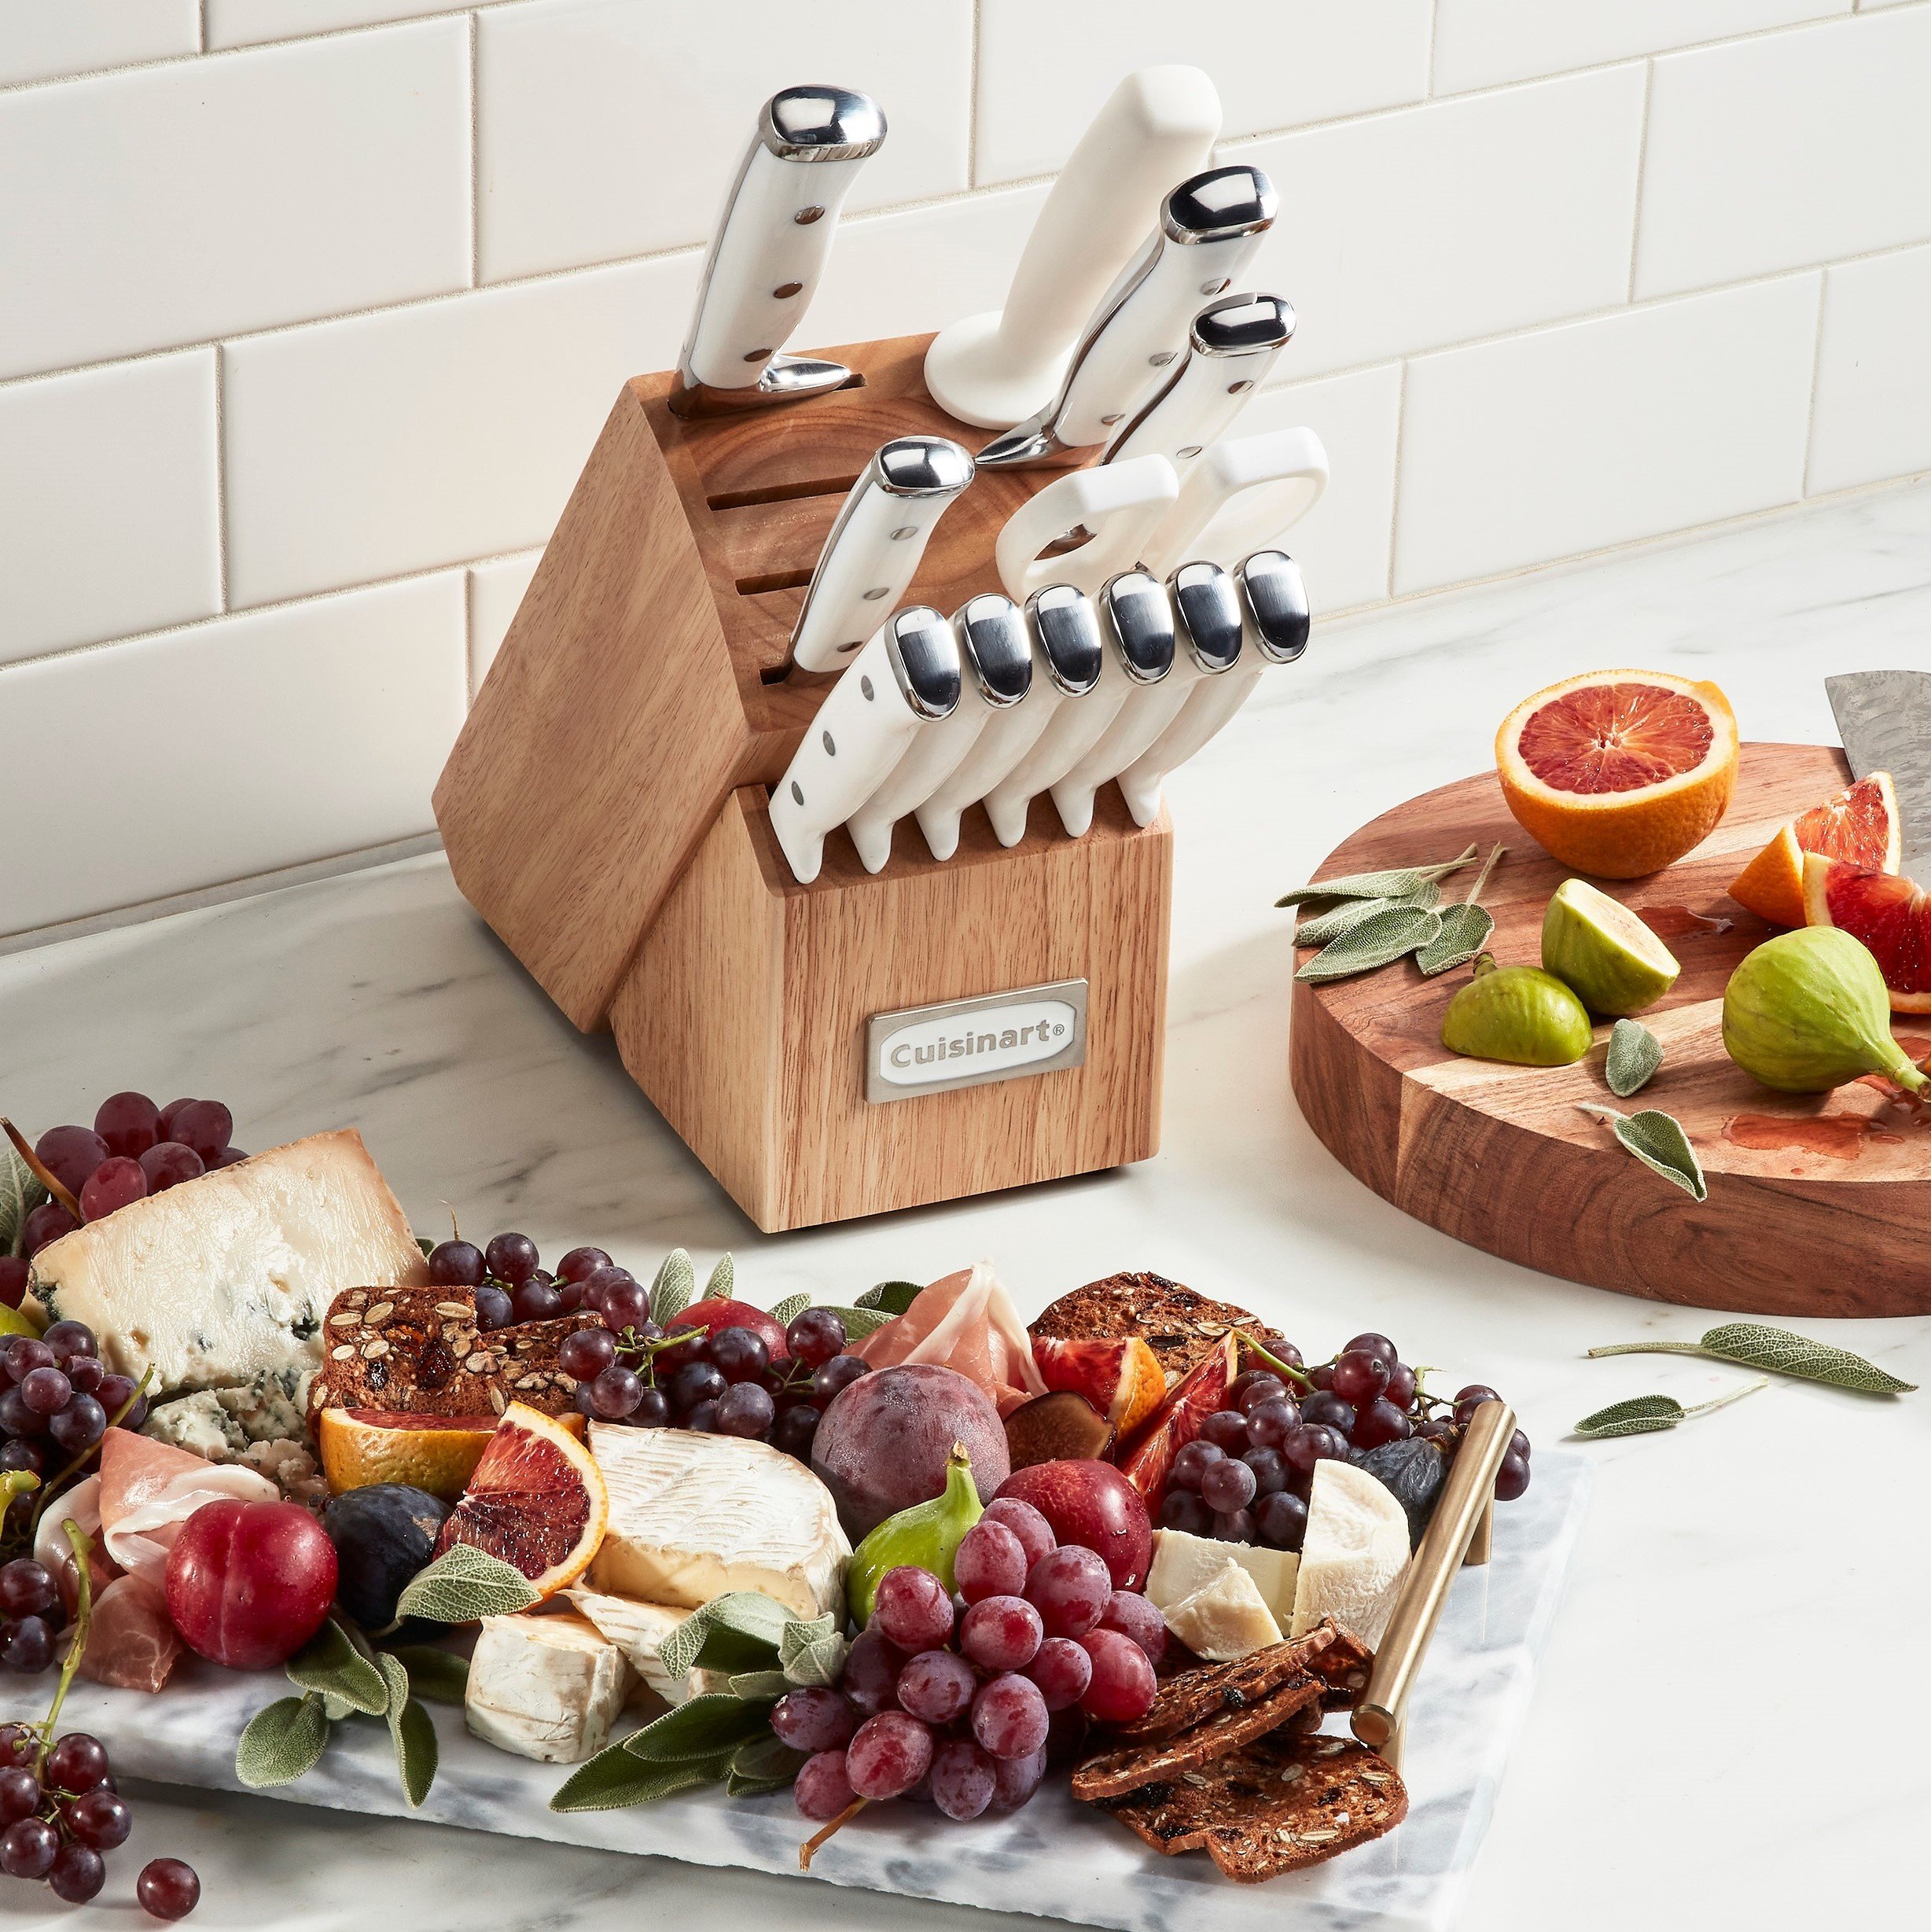
- Cutlery Block Sets
- Cutting Boards
- Flatware
- Graphix Collection
- Nitrogen Collection
- Professional Series Collection
- Shears
- Steak Knives
- Triple Rivet Collection
- Bakeware
- Shop All Bakeware
- Bakeware Sets
- Baking & Cookie Sheets
- Baking Tools
- Bread & Loaf Pans
- Cake Pans
- Measuring Cups & Spoons
- Mini Baking Dishes
- Muffin Pans
- Pizza Pan & Tools
- Toaster Oven Pans
- Tools & Gadgets
- Shop All Tools & Gadgets
- Acacia Wood Tools
- Attrezzo Collection
- Barrel Handle Collection
- Barware
- Beechwood Fusion Collection
- Chef's Classic Pro
- Contour Collection
- Cool Grips Collection
- Curve Handle Collection
- Elements Collection
- Flexible Turners
- FusionPro Collection
- GreenGourmet® Bamboo Tools
- GreenGourmet® Beechwood Tools
- Luminous Collection
- Metropolitan Collection
- Non-Handled
- Novelty Cutting Boards
- Oceanware Collection
- Primary Collection
- Scales
- Stainless Steel Collection
- Tools
- Trentino Collection
- Outdoor Grilling
- Shop All Outdoor Grilling
- Cleaning
- Coolers
- Covers And Stands
- Gadgets and Thermometers
- Grilling Cookware and Flavor Enhancement
- Grilling Tools and Sets
- Grills And Griddles
- Heaters & Fire Pits
- Portables
- Smokers & Pellet Grills
- Parts & Accessories
- Shop All Parts & Accessories
- Air Purifiers
- AirFryers
- Baby Line
- Baking & Casserole Dishes
- Blenders
- Bread Makers
- Can Openers
- Classic Stockpots & Sauce Pots
- Coffee Makers
- Deep Fryers
- Durable Skillets & Fry Pans
- Electric Knives
- Electric Skillets
- Espresso Maker
- Everyday Saucepans
- Food Processors
- Grills
- Hand Blenders
- Hand Mixers
- Ice Cream and Yogurt Makers
- Juicers
- Microwaves
- Popcorn Makers
- Pressure Cookers
- Saute and Specialty Pans
- Slow Cookers & Rice Cookers
- Specialty Appliances
- Stand Mixers
- Tasty by Cuisinart
- Tea Kettles
- Toasters
- Toaster Oven Broilers
- Tools
- Waffle Makers
- Wine Fridges & Coolers
Subtotal (0 items): $0.00